
Installation
Windows
Aqsis is available as an executable installation package from http://downloads.sourceforge.net/aqsis|SourceForge. During installation you will be presented with a series of options as detailed below:
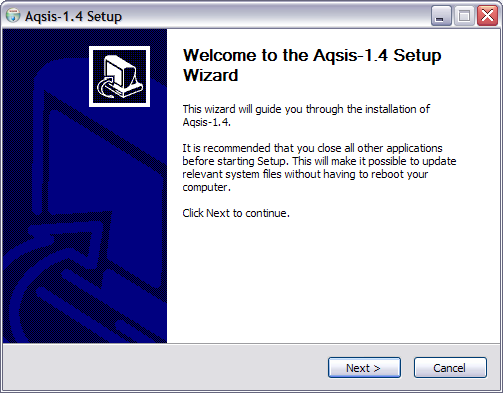
The intro page welcomes you to the installation process, select Next to move onto the next stage of installation.
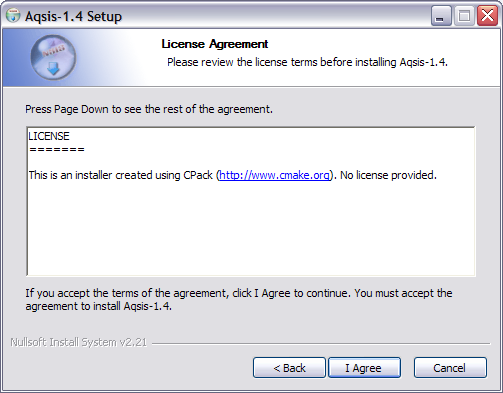
In the following screen, the license agreement will be presented, to continue, you must agree to the terms of the license. Select I Agree to move onto the next stage of installation.
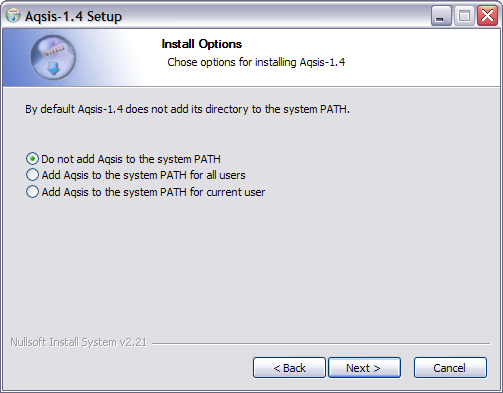
You have the option to add the location of the Aqsis executables to your system ‘‘PATH’’, so that they will be found automatically from the command line. This screen offers three choices
- Do not modify
PATHat all, leaving it up to you to deal with location of the executable when using them from the command line. - Modify the
PATHat a system level, so that all users will have access to the executables from the command line. - Modify the
PATHfor just the currently logged in user.
Make your choice and then select Next to continue with the installation process.
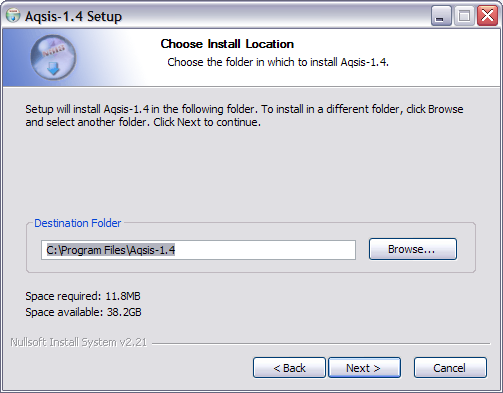
You can install Aqsis to any location you choose, this screen allows you to select the installation location. It will default to the system program files location. You can either type in a new location, or select the Browse button to find the location using a standard file selector. When you have chosen the installation location, select Next to continue.
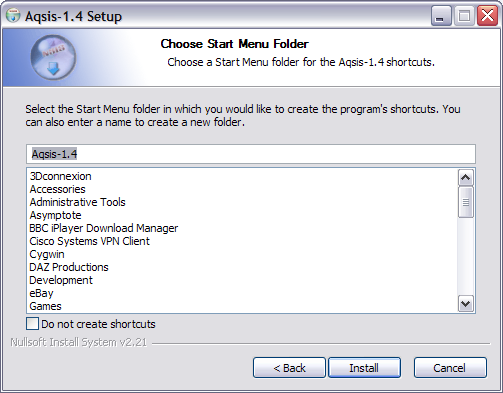
The installer can create Start menu entries for some of the Aqsis tools and documentation. In this screen, you can select where you want these to appear, if at all. A list of existing entries will be displayed, or you can type in a new name for the Start menu entry. Once you have made your choice, select Install to begin installing the files that make up the Aqsis tools.
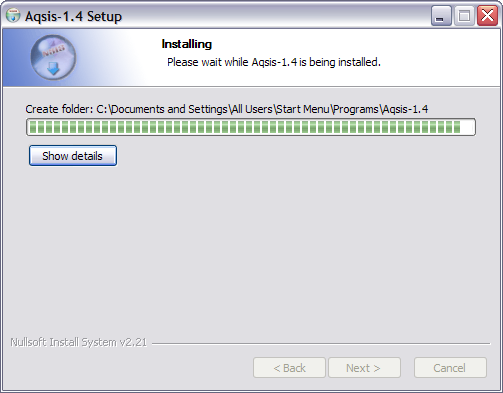
This screen shows the progress of the installation. Once the progress bar has reached the far right of the windows, the installation is complete. The screen will move automatically onto the next screen.
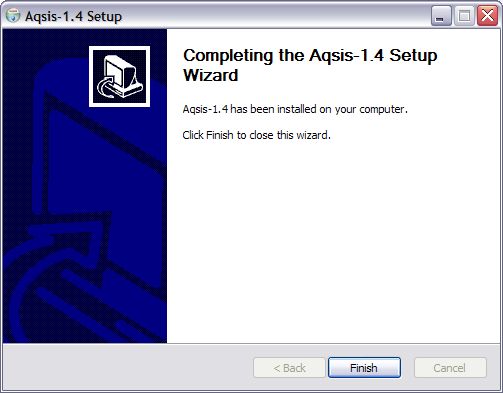
The final screen shows confirmation of the installation. Click Finish to end the installation process.
Once the installation is complete Aqsis is ready to go, no restart of Windows is required (though recommended) and one can start using Aqsis instantly.
Aqsis is built using Microsoft Visual Studio 2008 SP1 (MSVC9) on Windows and requires the relevant runtime to be present on your system.
OS X
Aqsis is available as a ‘Universal’ binary from SourceForge.
Once the disk image (*.dmg) is mounted you can launch the ‘Aqsis’ application, and optionally install it in the “Applications” folder. When launched, the application provides the option to either open an Aqsis shell or open the graphical front-end ‘‘eqsl’’.
The Aqsis shell updates the session PATH and AQSISHOME environment
variables on each execution, meaning the application bundle can be safely moved
around your system without breaking functionality.
Linux
Aqsis is part of the official package repositories for a number of Linux distributions, including Fedora, openSUSE, Debian (including Ubuntu) and Gentoo. Most users can refer to their native package manager to install Aqsis.
As of October 2009, these Linux distribution packages are very outdated and still contain version 1.2 of Aqsis. Currently there are no installation packages for Linux provided on our SourceForge site. Therefore, the instructions in this section should be disregarded for now. Please refer to our instructions on how to build Aqsis 1.6 from source. The instructions found above for Windows and MacOS X are still correct and will install Aqsis version 1.6.
Red Hat Enterprise Linux
Packages can be found at the following location(s):
Fedora
Open a console/terminal window and enter the following command:
yum install aqsis
openSUSE
Packages can be found at the following location(s):
Debian
Open your package manager of choice and install the package “aqsis”, or open a terminal window and enter the following command:
sudo apt-get install aqsis
Gentoo
A gentoo ebuild is available in portage. Install in the usual way using the command
emerge aqsis
Source
Alternatively you can build Aqsis using our [[http://downloads.sourceforge.net/aqsis|source tarball]], providing your system supports the required [[doc:dev:build#requirements|dependencies]].
More information on building from source code can be found in the [[doc:dev:build|programmer’s guide]].
Environment
In order to render an image, ‘‘aqsis’’ has to be able to find files such as compiled shaders, texture images, display devices, procedurals, RIB archives, etc. By default, Aqsis should already be set up so that it finds at least the standard files that come with Aqsis itself. However, the situation may arise where you want to customize the search paths.
General Setup
When ‘‘aqsis’’ is launched, it reads a number of configuration files which are just ordinary RIB files. The order in which the config files are processed is as follows:
- System config file: This file is either in the same directory as ‘‘aqsis.exe’’ (on Windows), or in ‘‘$install_prefix/etc’’ on POSIX. The file is named ‘‘aqsisrc’’.
- User config file:
$HOME/.aqsisrc(or%HOME%\.aqsisrcon Windows). - Project config file:
.aqsisrcin the directory from which aqsis was run. - Environment variables: The various
AQSIS_*_PATHenvironment variables are then inspected:AQSIS_ARCHIVE_PATH: These paths are used for locating RIB archives.AQSIS_DISPLAY_PATH: Display devicesAQSIS_PROCEDURAL_PATH: Procedurals (seeRiProcedural())AQSIS_SHADER_PATH: Shaders and DSOsAQSIS_TEXTURE_PATH: Texture images
- Command line: Finally, the paths provided as command line options
(
-shaders,-textures, etc.) are applied.
The configuration files may have any valid RIB commands, but by default simply set a number of renderman interface [[doc:options|options]], including [[doc:options#Searchpath_Options|search paths]] for important external resources. As an example, the default config file includes something like the following when installed on a linux system:
# Mapping from RI display names to the correspndoning dynamic library names.
Option "display" "string file" ["libdisplay.so"]
Option "display" "string framebuffer" ["libpiqsldisplay.so"]
Option "display" "string zfile" ["libdisplay.so"]
Option "display" "string zframebuffer" ["libdisplay.so"]
Option "display" "string shadow" ["libdisplay.so"]
Option "display" "string tiff" ["libdisplay.so"]
# ...

# Default search paths
Option "defaultsearchpath" "string shader" ["/usr/local/share/aqsis/shaders"]
Option "defaultsearchpath" "string display" ["/usr/local/lib/aqsis"]
# ...

# Search paths.  @ is expanded to the default search path.
Option "searchpath" "string shader" ["@:."]
Option "searchpath" "string display" ["@:."]
# ...
It’s essential that aqsis finds at least the default configuration file. If not, you won’t be able to render any images since at least one display device is needed to provide a destination for the generated pixel data.
Other Options
In order for other systems to easily find/locate the Aqsis toolsuite
(binaries), like [[http://liquidmaya.sf.net|Liquid]], we have standardised on
using the AQSISHOME environment variable.
This variable should be enabled by default within our official installers/packages, else it can be added manually (linking to the full path of the install directory).